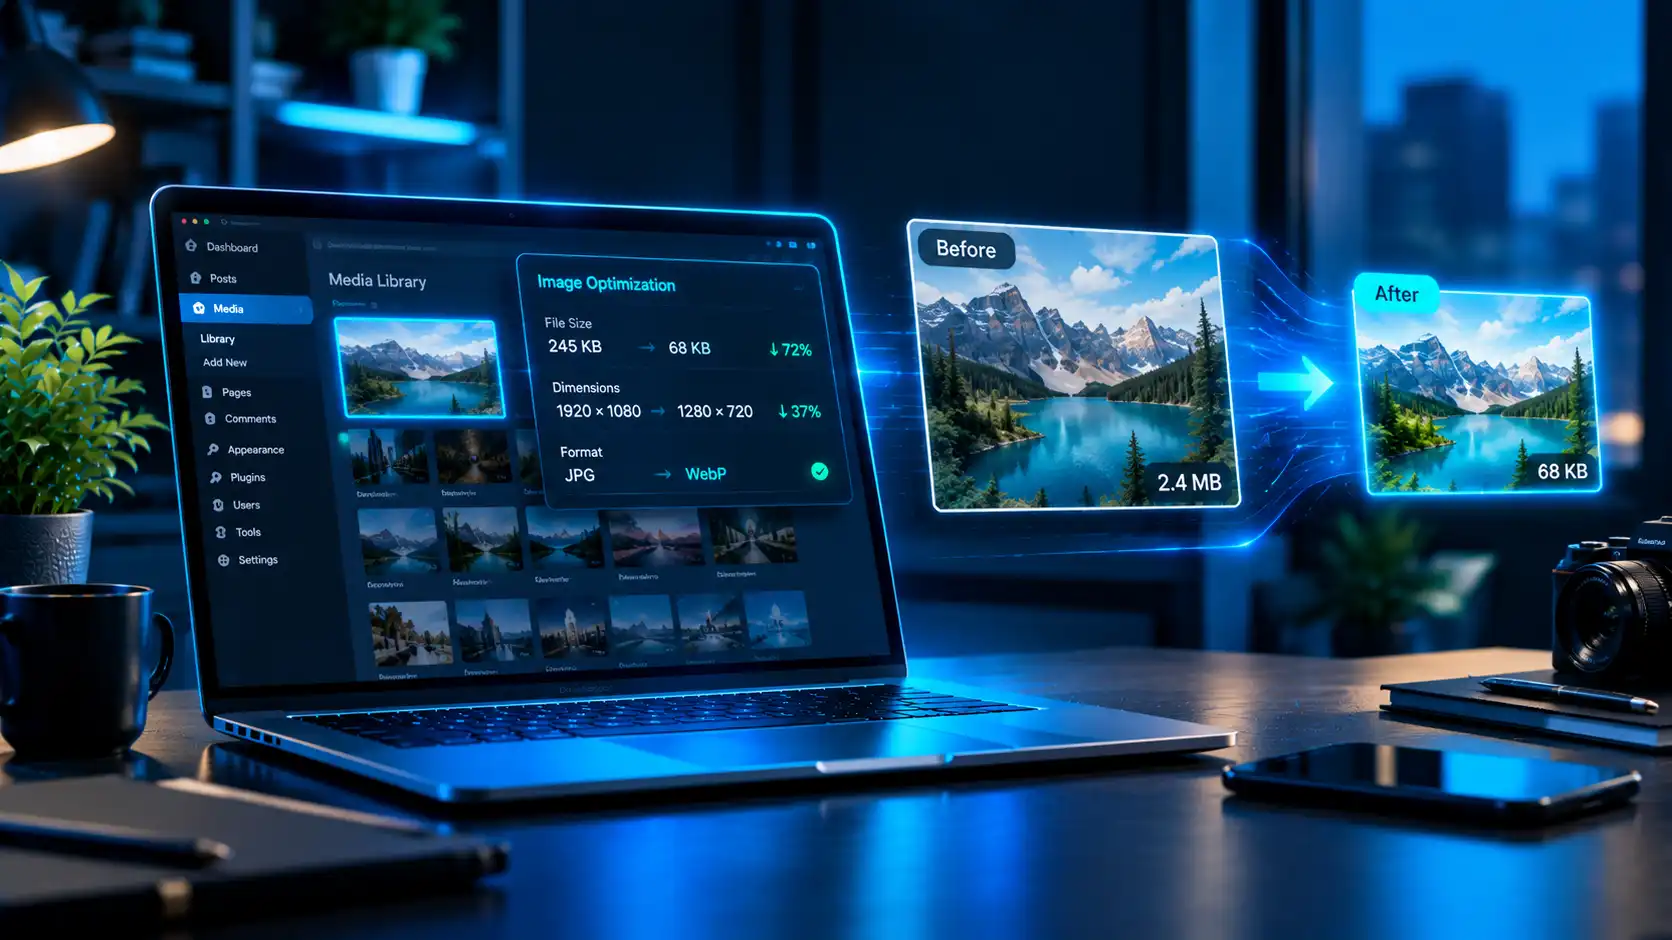
How to Optimize Images for WordPress Without Losing Quality
WordPress image optimization is one of the quickest ways to make a slow website feel fast. Large, uncompressed images are a common reason pages take too long to load, and the fix doesn’t have to cost you any visible quality.
This guide shows you how to shrink image file sizes the smart way, so your photos still look sharp while your pages load faster.
Why WordPress Image Optimization Matters
Images often make up most of a page’s total weight. When they’re oversized, visitors on mobile or slower connections wait longer, and many leave before the page finishes loading.
Good WordPress image optimization helps you:
- Improve page load speed
- Support better Core Web Vitals scores, especially Largest Contentful Paint
- Reduce server load and bandwidth use
- Create a smoother experience on mobile devices
- Give your pages a better chance of performing well in search
Lossy vs. Lossless Compression
Before you start, it helps to know the two main compression types.
- Lossless compression reduces file size without removing image data. Quality stays identical, but savings are smaller.
- Lossy compression removes some data you’re unlikely to notice. Savings are much bigger, and at sensible settings the difference is usually invisible to the eye.
For most blog and business sites, a moderate lossy setting gives the best balance between quality and speed.
7 Steps for WordPress Image Optimization Without Losing Quality
1. Resize Images Before Uploading
Many people upload a 4000-pixel-wide photo that displays at 800 pixels. WordPress then loads far more data than the layout needs.
Resize images to the largest size they’ll actually appear on your site. For a standard content area, that’s often 1200 to 1600 pixels wide. Doing this first is the simplest step in any WordPress image optimization routine.
2. Choose the Right Image Format
Different formats suit different jobs:
- JPEG: Good for photographs
- PNG: Best for graphics that need transparency
- WebP: A modern format that typically delivers smaller files at similar visual quality
- SVG: Ideal for logos and icons, since they scale without losing sharpness
When possible, use WebP for photos and SVG for simple graphics. web.dev’s Learn Images course explains image formats and compression in more detail.
3. Compress Every Image
Compression is the heart of WordPress image optimization. Run images through a compression tool or plugin before or after upload. Start with a moderate quality setting, compare the result with the original, and only go lower if you can’t see a difference.
4. Use an Image Optimization Plugin
A good plugin automates the work. Most offer:
- Automatic compression on upload
- Bulk optimization for existing media
- WebP conversion
- Backups of your original images
Choose one plugin and configure it carefully. Running several image plugins at once can cause conflicts and wasted processing.
5. Enable Lazy Loading
Lazy loading delays images that are far below the visible screen until a visitor scrolls near them. This cuts the initial load time. Don’t lazy load your main hero image or other above-the-fold images, since that can slow down how quickly your main content appears.
6. Serve Responsive Images and Use a CDN
WordPress generates several image sizes automatically, so browsers can pick one that fits the screen. A content delivery network (CDN) can also serve images from locations closer to your visitors, which helps global audiences.
7. Write Clean File Names and Alt Text
Good WordPress image optimization isn’t only about file size. Use descriptive file names like wordpress-speed-test-results.webp instead of IMG_4821.webp, and add short, accurate alt text. This helps accessibility and gives search engines useful context.
Common Image Optimization Mistakes
Watch out for these frequent errors:
- Uploading full-size camera photos directly
- Compressing too aggressively until images look blurry
- Using PNG for photographs
- Lazy loading the hero image
- Ignoring old images already in your media library
- Forgetting to test results after optimizing
How to Check Your WordPress Image Optimization Results
After optimizing, run your page through PageSpeed Insights. Look for suggestions about properly sized images, modern formats, and offscreen images.
Compare load time and page size before and after. If your largest image still slows the page, resize or compress it further.
WordPress Image Optimization for Elementor and WooCommerce
Page builders and online stores tend to use many images, so optimization matters even more.
- Elementor: Avoid oversized background images and sliders with large files. Use image sizes that match each container.
- WooCommerce: Product galleries need consistent, compressed images. Keep thumbnails small, and make sure zoomable product photos aren’t heavier than necessary.
Fast product pages also tend to give shoppers a better experience, which is a good reason to treat image work as ongoing maintenance.
Keep Optimizing as Your Site Grows
Make WordPress image optimization part of your content routine:
- Resize and compress every image before publishing.
- Review your media library every few months.
- Retest speed after major design changes.
- Replace outdated or oversized images.
If you’d rather not handle the technical details yourself, professional WordPress speed optimization services can audit your site, fix heavy images, and improve overall performance.
Conclusion
WordPress image optimization doesn’t require sacrificing quality. Resize before uploading, choose the right format, compress sensibly, and let lazy loading and responsive images do the rest.
Start with your biggest images first. A few small changes can noticeably speed up your pages and make your site better for visitors and search engines alike.